
Last updated November 21, 2026
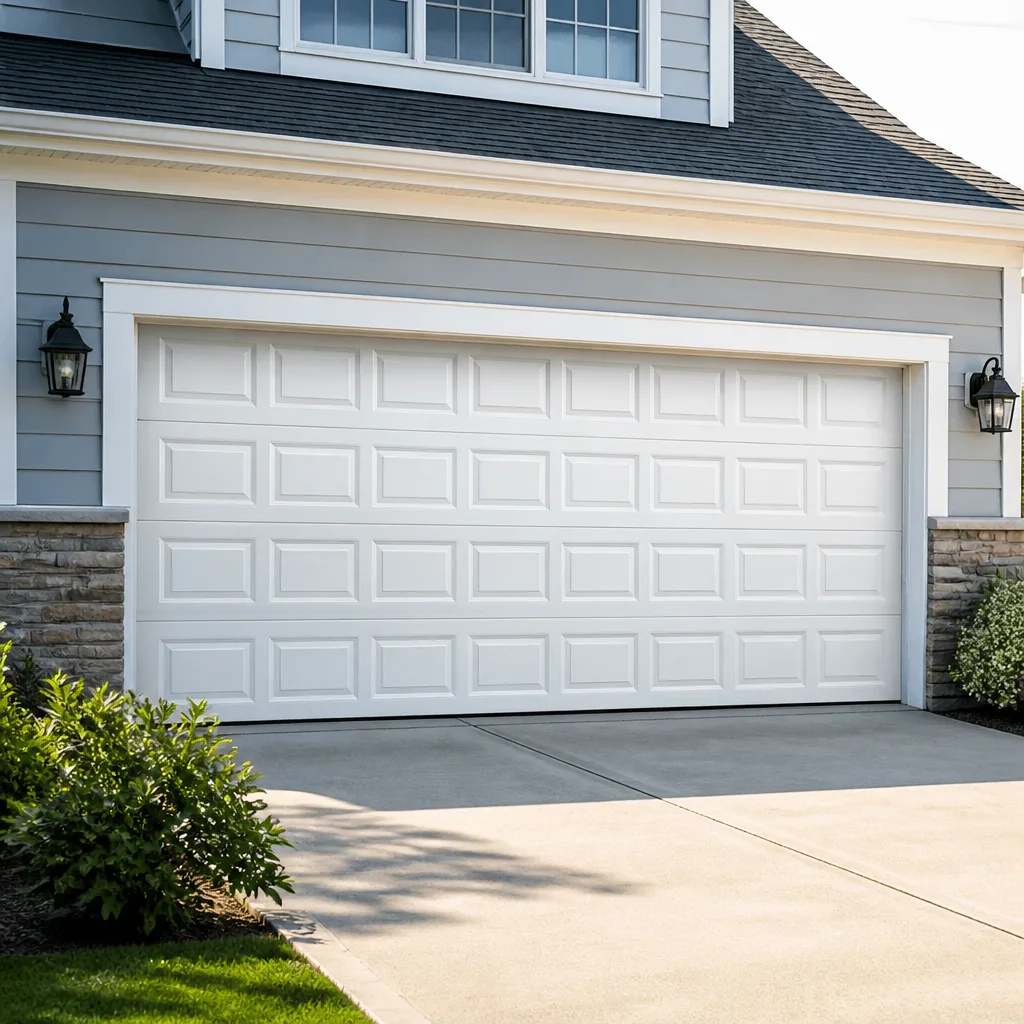 Raised-panel steel
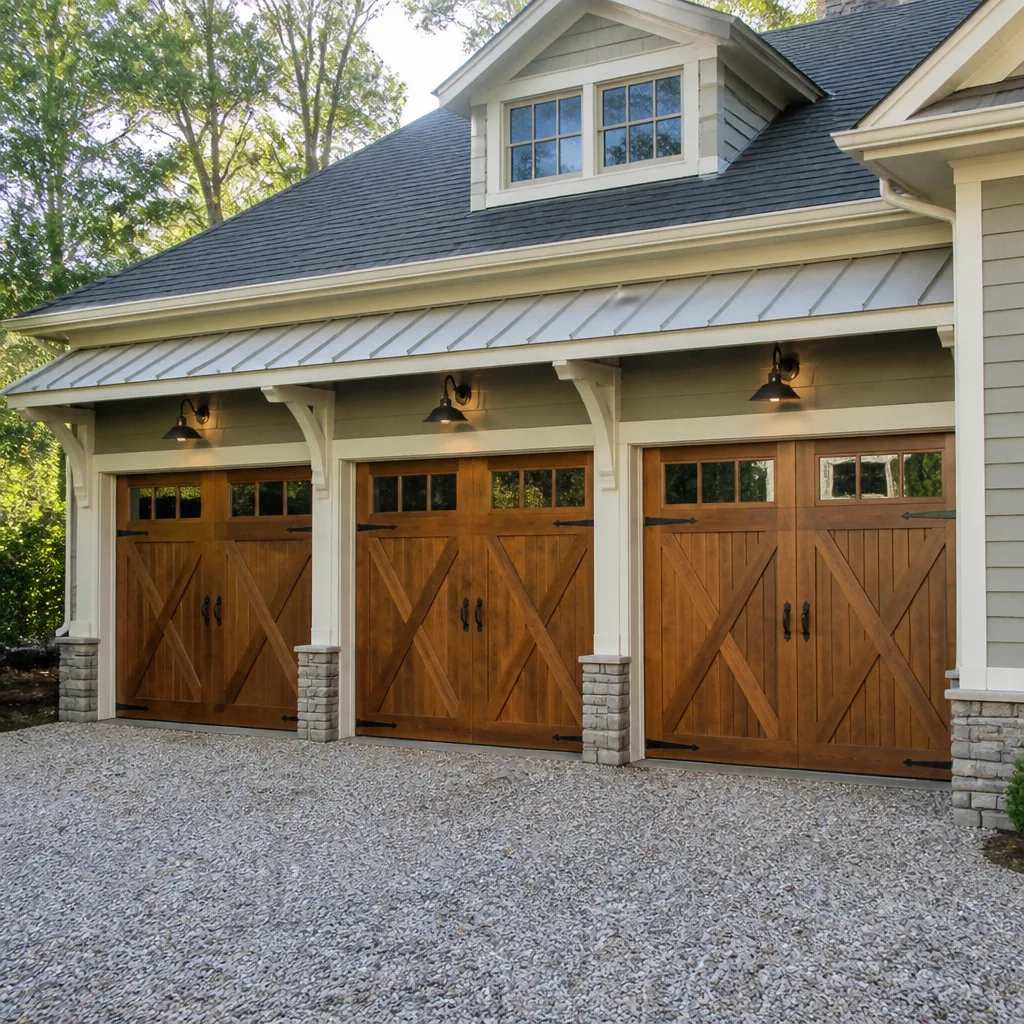 Carriage house
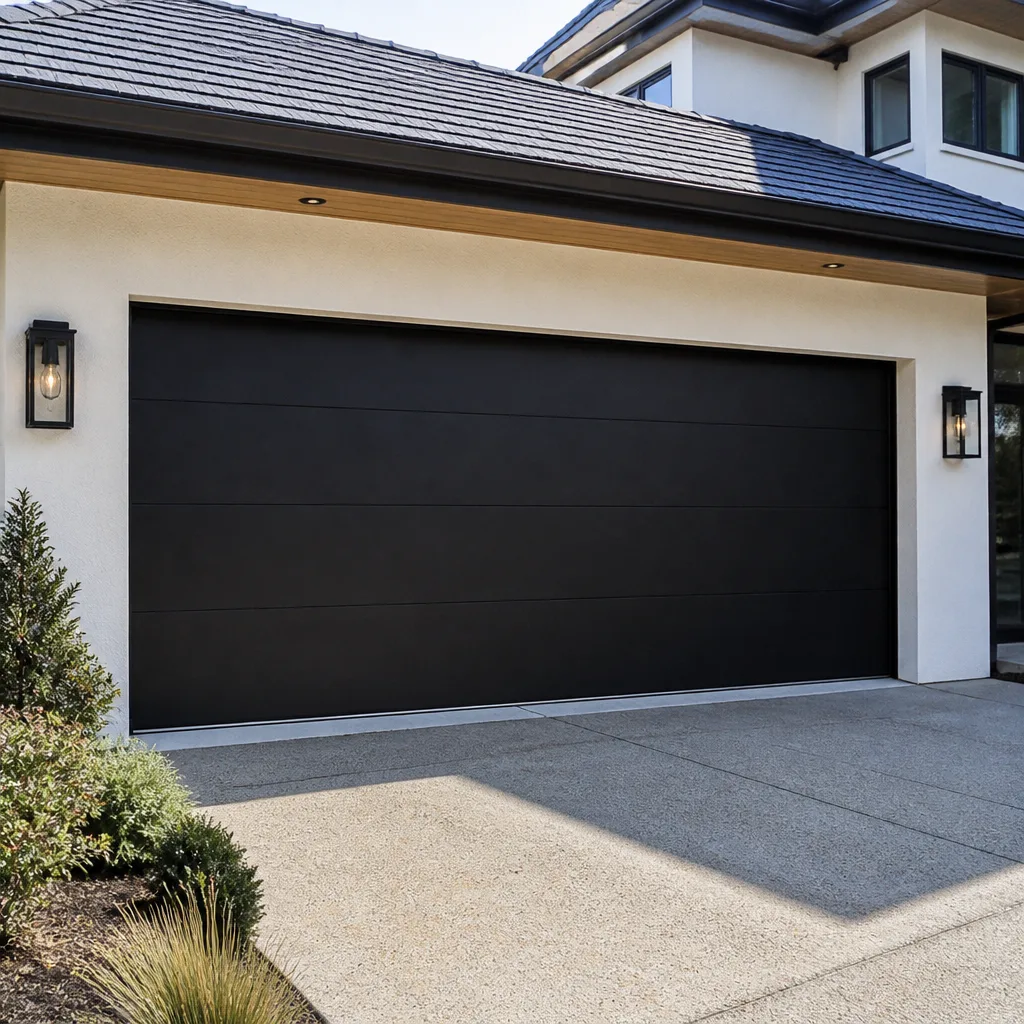 Modern flush
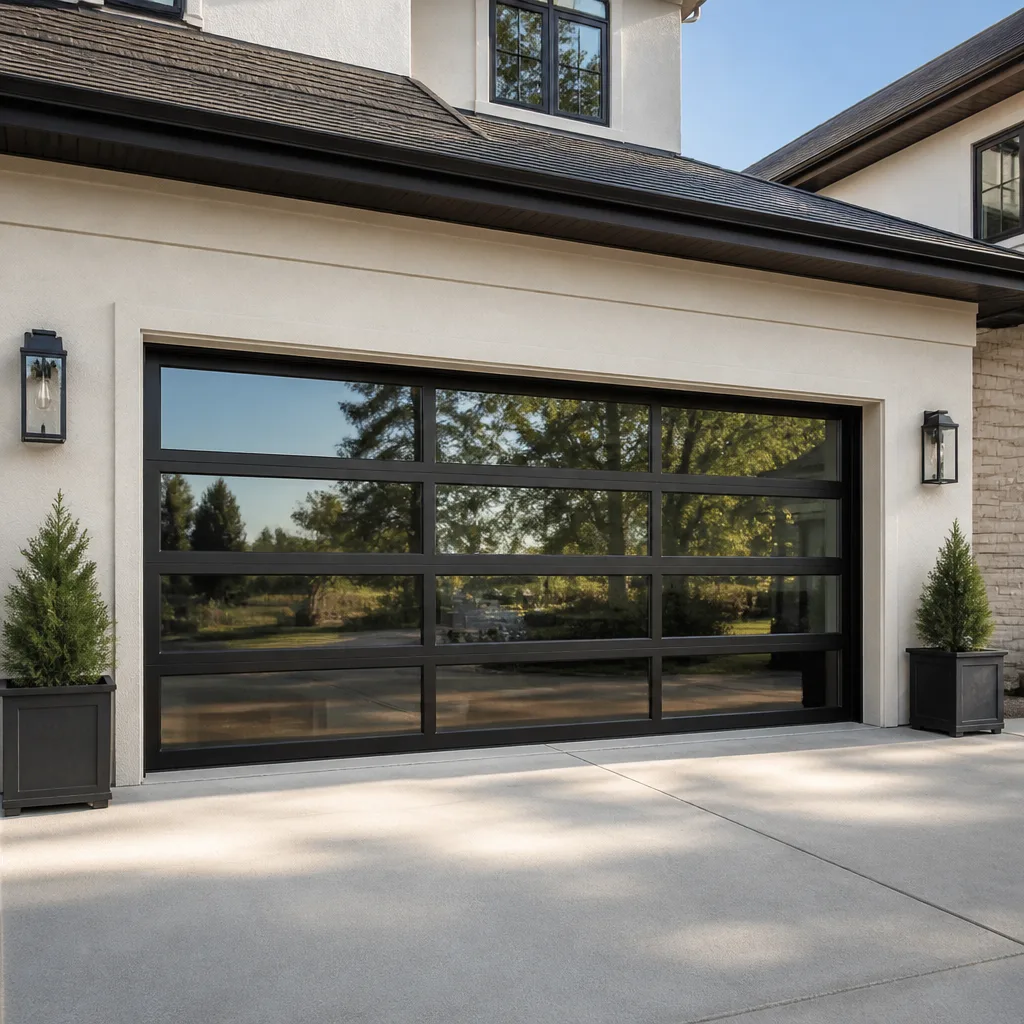 Full-view glass
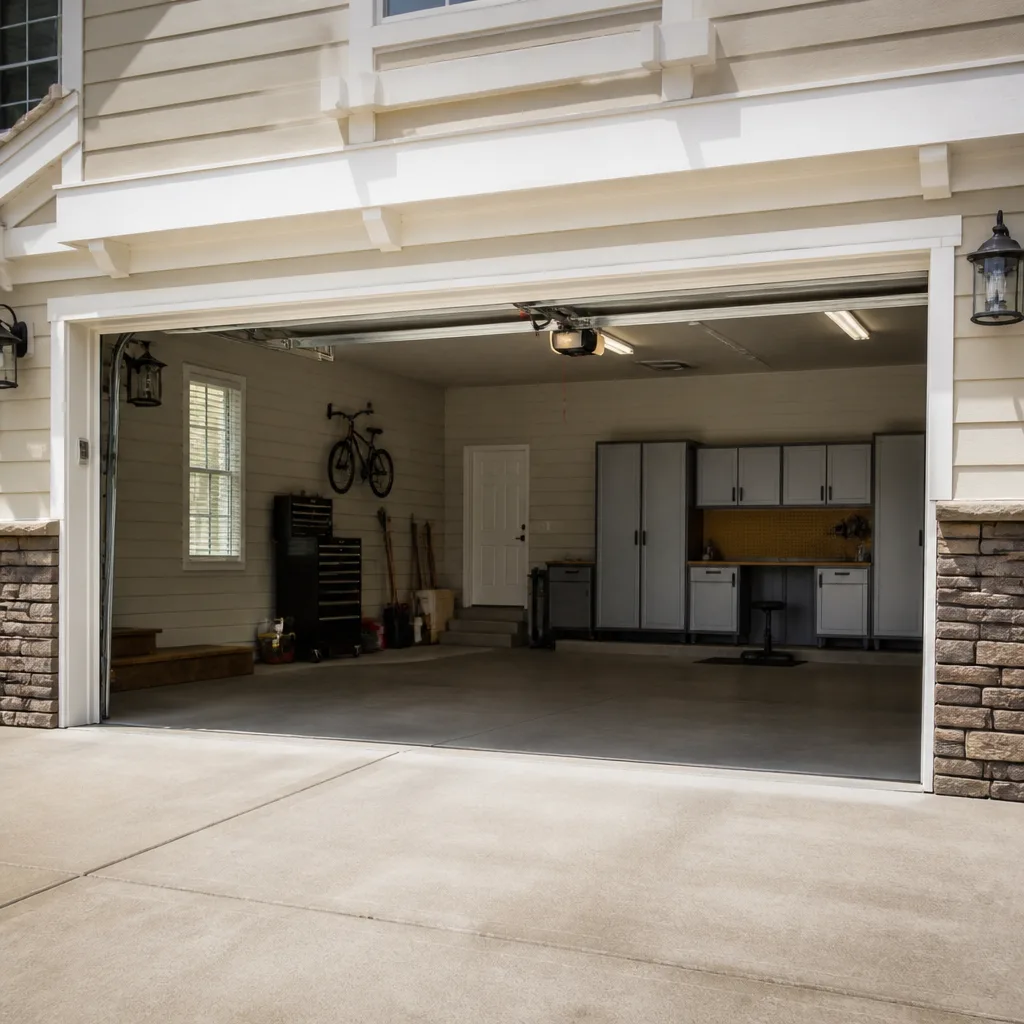 LiftMaster openers
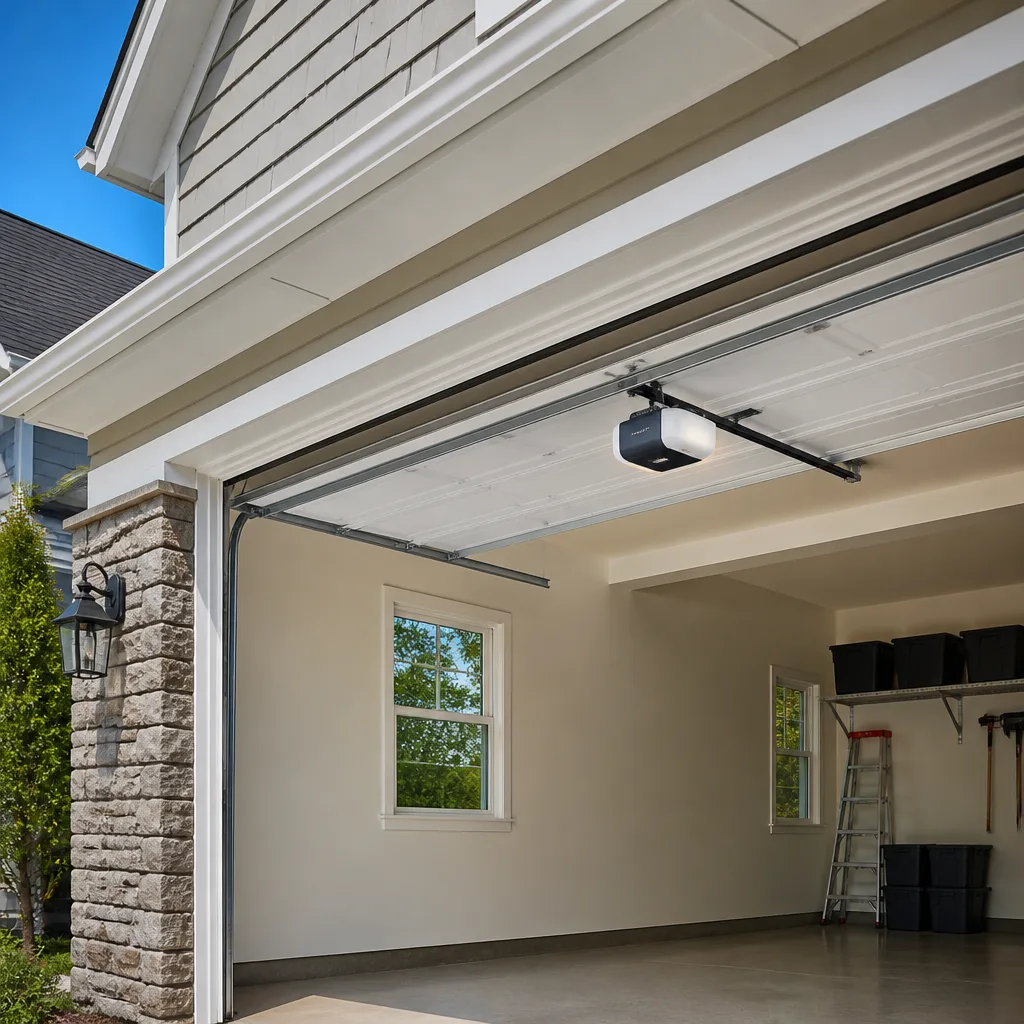 Chamberlain openers
Full 25-point door and opener safety check with every visit - springs, cables, rollers, tracks, and your LiftMaster or Chamberlain opener included
You get a price before we start. It does not change when the pro arrives.
Get your free estimateGarage Door Repair Maintenance Checklist for Kent Homeowners
The number-one cause of after-hours emergency calls in Kent isn’t a broken spring. It’s a torsion spring that showed visible wear for three months that nobody knew to look for. Springs don’t announce themselves. They stretch, lose tension, and show two or three quiet signals first, and every one of them is visible from the floor without a wrench in your hand. Most checklists skip those signals entirely and move straight to “spray some lubricant and call it a day.” This guide works backward from what a technician actually checks first when a Kent door fails, then turns that into a prevention routine you can run in about twenty minutes a few times a year.
Quick Answer
A proper garage door maintenance routine in Kent covers four things: a visual spring and cable inspection with the door closed and nothing touched, correct lubrication matched to our damp climate, a two-minute auto-reverse force test using a 2×4, and a seasonal timing schedule built around Kent’s wet winters rather than a generic quarterly template. Any task that involves the spring, the cables under tension, or the opener’s electrical panel belongs to a trained technician. The rest you can do yourself, and it will prevent most of the service calls we see.
Styles & brands we work with
- Raised-panel steel
- Carriage house
- Modern flush
- Full-view glass
- LiftMaster openers
- Chamberlain openers
Table of Contents
- How to spot torsion spring wear without touching the spring
- The right lubrication sequence for Kent’s damp climate
- Cable fraying checkpoints you can see from the floor
- Testing auto-reverse force calibration with a 2×4
- A seasonal schedule matched to Kent weather
- Opener and smart system checks
- What unusual noises are telling you
- Keeping a maintenance record that saves you money
How to spot torsion spring wear without touching the spring
The torsion spring above your door holds hundreds of pounds of tension. Never try to tighten it, spray it loose, or test it by hand. What you can do is look, and the look takes about thirty seconds. Stand on the floor with the door fully closed. That’s the position where the spring carries the most load and where wear shows most clearly.
Three visual indicators matter most:
- Color-coded coil end. Springs are painted at the coil end to identify their wire gauge and length. If that paint is faded, flaking, or worn to bare metal at the coil, the spring has seen a lot of cycles. A spring missing its paint on a newer door is worth a professional look.
- Gaps or a visible split. Run your eye along the coil. A healthy spring looks like one continuous spiral. A gap in the coil, a bulge, or a split line means the spring is on its way out. A broken spring usually shows an obvious separation, but a partial split can start as a hairline you only see in good light.
- Rust and surface pitting. Kent’s wet winters are hard on steel. Rust in the coil doesn’t break a spring by itself, but pitting creates weak spots, and weak spots fail first. If you can see orange in the coil, plan for a professional inspection.
Two other signs are just as important. If the door feels heavy when you lift it by hand with the opener disconnected, or if it slams down faster than it used to, the spring has lost tension and needs a technician. In our experience, homeowners who check the coil every few months catch springs weeks before they fail completely, which usually means a scheduled garage door spring repair rather than a morning with a dead door and a trapped car.
The right lubrication sequence for Kent’s damp climate
Kent gets wet. Not dramatic wet, just steady months of drizzle that keeps the inside of a garage slightly humid most of the year. That humidity is fine for a car. It’s less fine for bare steel moving parts, and it’s the reason a lubrication routine matters more here than in a dry climate. But the wrong product does more damage than no product at all.
Start with what to avoid. Never use WD-40, silicone spray, or any thin penetrating oil on your rollers, hinges, or tracks. Those products attract dust, and once dust sticks to a nylon roller it grinds the roller down from the inside. In Kent’s damp air, the dust turns into a paste that eats nylon rollers faster than any seasonal cycle. It’s one of the most common avoidable failures we see on newer Clopay and Amarr doors.
What to use instead: a white lithium grease or a garage-door-specific lubricant on the hinges, the roller stems, and the bearing plates. Use it sparingly. A light film is enough, and excess grease just gathers grit. Run through this sequence:
- Wipe down the tracks with a dry cloth. Don’t grease them. Tracks stay clean and dry.
- Apply a thin bead of white lithium grease to each hinge pivot point.
- Grease the metal roller stems, not the nylon wheel itself.
- Grease the torsion spring only if the manufacturer’s label says to. Many springs come pre-lubricated and don’t need it.
- Check the opener’s rail and drive. Chain drives take a light grease; belt drives usually need none.
Do this twice a year in Kent, once in late fall before the wet season and once in early spring.
Cable fraying checkpoints you can see from the floor
Lift cables run from the bottom corners of your door up to the drums at the top. They’re under heavy tension whenever the door is closed, and they’re a common failure point. You never touch a cable under tension. Dropping a cable means releasing a loaded spring, and that’s dangerous. But you can inspect them from the floor with no tools, and you should.
Look at four locations:
- At the bottom corner brackets. This is where cables fray first. Broken strands show up as a fuzzy, wire-brush look on the cable’s surface. A single broken strand is a warning. Several broken strands mean stop using the door and call a professional.
- At the drums near the top. With the door closed, check that the cable is seated neatly in the drum groove. A cable that’s jumped the groove or looks slack on one side of the door is a fault, not a minor issue.
- Along the vertical run. Follow each cable with your eyes. Kinks, sharp bends, or bare spots where the protective coating has rubbed away all count as wear.
- Left versus right. The two cables should look nearly identical. If one is noticeably tighter or shows more wear, the door is likely running unbalanced, and an unbalanced door is working a spring and an opener harder than they should.
Any sign of fraying or slack is a stop-use situation. Call a technician before running the door again.
Testing auto-reverse force calibration with a 2×4
This is the safety test that matters most, and most homeowners have never run it. Federal safety standards require a garage door opener to reverse when the door meets an obstruction, and the test itself takes under two minutes.
You’ll need a 2×4 laid flat on the ground under the middle of the door, or a roll of paper towels if you don’t have scrap lumber. The procedure is straightforward:
- Make sure nothing and nobody is near the door. Close the door for good.
- Lay the 2×4 flat on the floor directly beneath the center of the door.
- Press the wall control to close the door.
- Watch what happens when the door contacts the 2×4. The door should reverse and travel back up almost immediately.
- Test the photo-eye safety sensors by waving your leg or a box in front of the beam. The door should reverse before it reaches the obstruction.
- If the door stops, strains, or fails to reverse in either test, stop using the opener and call a professional.
Run this test once a month. If the door fails it, don’t adjust the force settings on the opener by intuition – the sensors and the opener’s logic board are what actually control reversal, and getting the calibration wrong makes the door more dangerous, not less. This is exactly the kind of issue a garage door opener repair visit resolves quickly.
A seasonal schedule matched to Kent weather
Generic quarterly checklists ignore what’s actually happening outside. Kent has a specific rhythm worth matching your maintenance to.
- Late fall, before the wet months. This is your most important visit of the year. Lubricate everything, tighten bolts, test the auto-reverse, and look hard at the springs and cables before the humid stretch.
- Mid-winter, when the rain is constant. Do a quick visual of the coils for rust, check the weather seal along the bottom of the door, and give the hinges a light spray of lithium grease. The seal matters here – a worn bottom seal lets wind-driven rain drip onto the bottom corner brackets, which is where cables start to rust.
- Early spring, when the weather breaks. Full re-lube, and re-tighten the bolts that work loose through winter. Bolts loosen faster in the wet months because of temperature swinging. This is also when to check the opener’s settings after a season of winter use.
- Late summer, before the wet returns. A quick visual pass. Check the auto-reverse and the photo-eyes, and listen for anything new in the door’s sound.
That’s two serious passes and two light ones a year. If you’d rather have a technician run the serious pass, that’s what our garage door repair visits are for, and the estimate is always free.
Opener and smart system checks
Your opener is doing more work than you think. It’s balancing the door, controlling travel limits, and in newer units it’s talking to a phone. A few checks will keep it healthy, and they’ll catch the most common failures before they leave you locked out.
- Check the travel limits. When the door closes, it should meet the floor snugly without slamming or leaving a gap. If the door reverses before reaching the floor, the limit is set too high.
- Test the wall control and the remotes fairly. If the remote works but the wall button doesn’t, or vice versa, you’re looking at a wiring or logic board issue, not an unbalanced door.
- Check the battery. Most remotes and keypads take small batteries you can swap without a technician.
- Verify smart app connectivity. On Chamberlain and Genie Wi-Fi openers, if the app has stopped reporting door status, the issue is usually a router or app pairing problem rather than the opener itself. Reconnecting is often all it takes.
- Listen for the opener’s strain. A groan at the end of travel is a sign the door is out of balance and the opener is fighting the spring.
Opener problems in Kent often trace back to sensor misalignment after a season of temperature swings. If the door won’t close and the light is blinking, the photo-eyes are the first thing to check.
What unusual noises are telling you
Sound is your best early-warning system, and almost every failing door makes a distinct noise before it quits.
- Loud grinding from the opener. Usually a worn gear or a failing bearing in the opener’s drive, not the door itself.
- Squealing at the tracks. Metal on metal, most likely a dry roller or a track that’s slightly misaligned.
- A sharp bang or snap. A spring broke. Stop using the door immediately and call a professional.
- A heavy, dragging sound on the way up. The spring has weakened and the opener is doing work it shouldn’t have to.
- A grind or scrape at only one height of travel. A hanging roller or a damaged track section that you’ll need to find and fix.
Lubrication fixes most squeals. Grinds and bangs are usually mechanical, and those should be looked at by a technician rather than patched with grease.
Keeping a maintenance record that saves you money
A simple log pays off. Note the date you lubricated the door, the date you ran the auto-reverse test, and any noise or symptom you noticed. When you call for service, that log tells a technician exactly what’s been done and when, which shortens diagnosis and keeps you from paying for a check that’s already been run.
Log these specific things:
- Date of the last full lubrication and which product you used.
- Whether the auto-reverse and photo-eye tests passed, and the date.
- Any change in sound, speed, or weight you noticed.
- The date and brand of the last service visit.
- Spring or cable replacements, with the date.
The log also helps when you’re deciding between repair and replacement. A door with a clear service record and a recently replaced spring is a repair candidate. A door with worn springs, noisy opener, and a rusted bottom section is a candidate for a full garage door installation, and the record makes that call honest.
Common Mistakes to Avoid
- Greasing the tracks. Tracks stay dry. Grease in the tracks collects grit, and grit kills rollers. It’s one of the fastest ways to make a smooth door rough.
- Using WD-40 as a lubricant. It’s a penetrant, not a lubricant. It attracts dust and dries out nylon rollers. In Kent’s humid air, that leads to a paste that grinds them down.
- Trying to tighten the torsion spring yourself. Springs carry hundreds of pounds of stored energy. This is a two-person, proper-tools job, and it’s the reason trained technicians handle it and homeowners don’t.
- Skipping the auto-reverse test. Most homeowners never run it. It’s the single most important safety test on the door, and it takes two minutes.
- Ignoring rust in the coil. It looks cosmetic. It’s not. Rust and pitting in the spring coil are early warnings that the spring is nearing failure, and catching it early means a scheduled repair instead of an emergency call.
- Pulling on a slack or frayed cable. A cable under tension is never safe to handle. If a cable is slack, the door stops until a technician arrives.
- Adjusting the opener’s force setting by feel. If the auto-reverse test fails, calling a professional is safer than guessing at the calibration. A door that doesn’t reverse is a hazard.
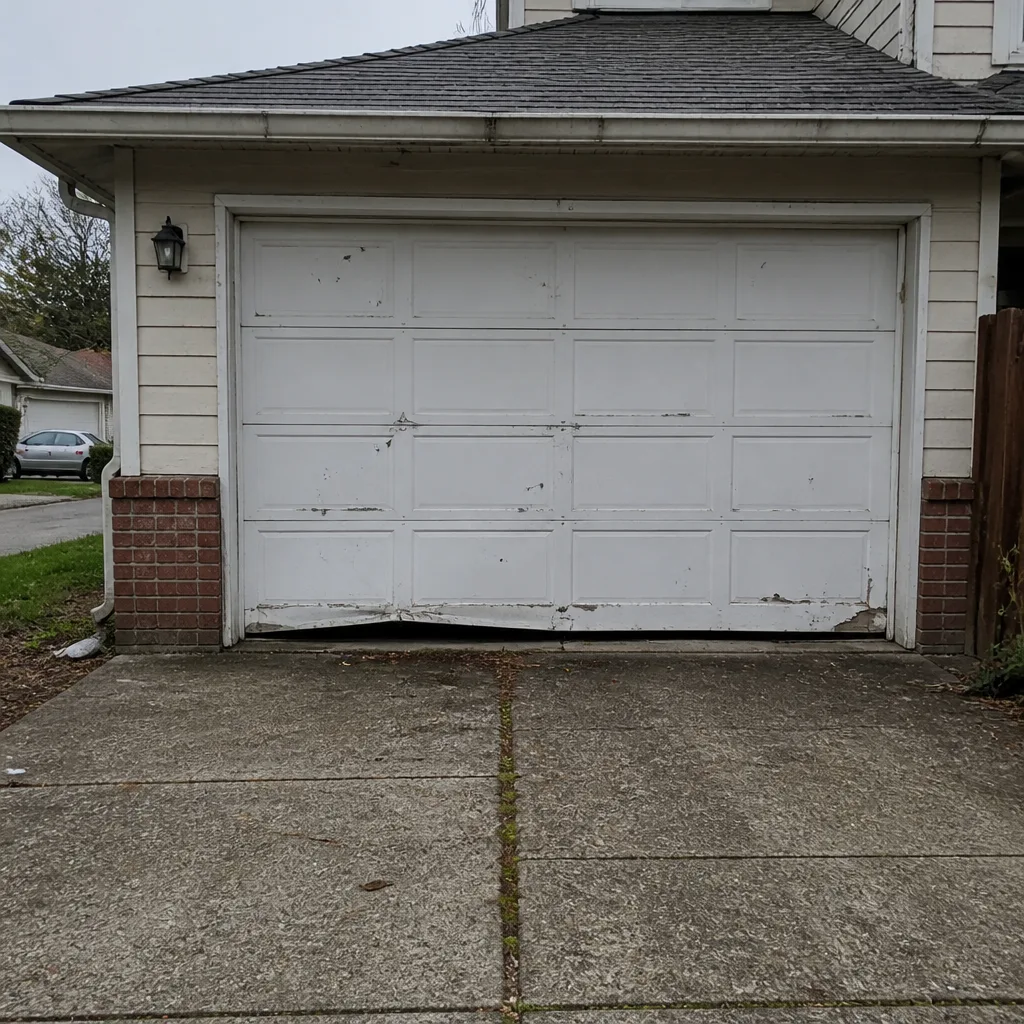
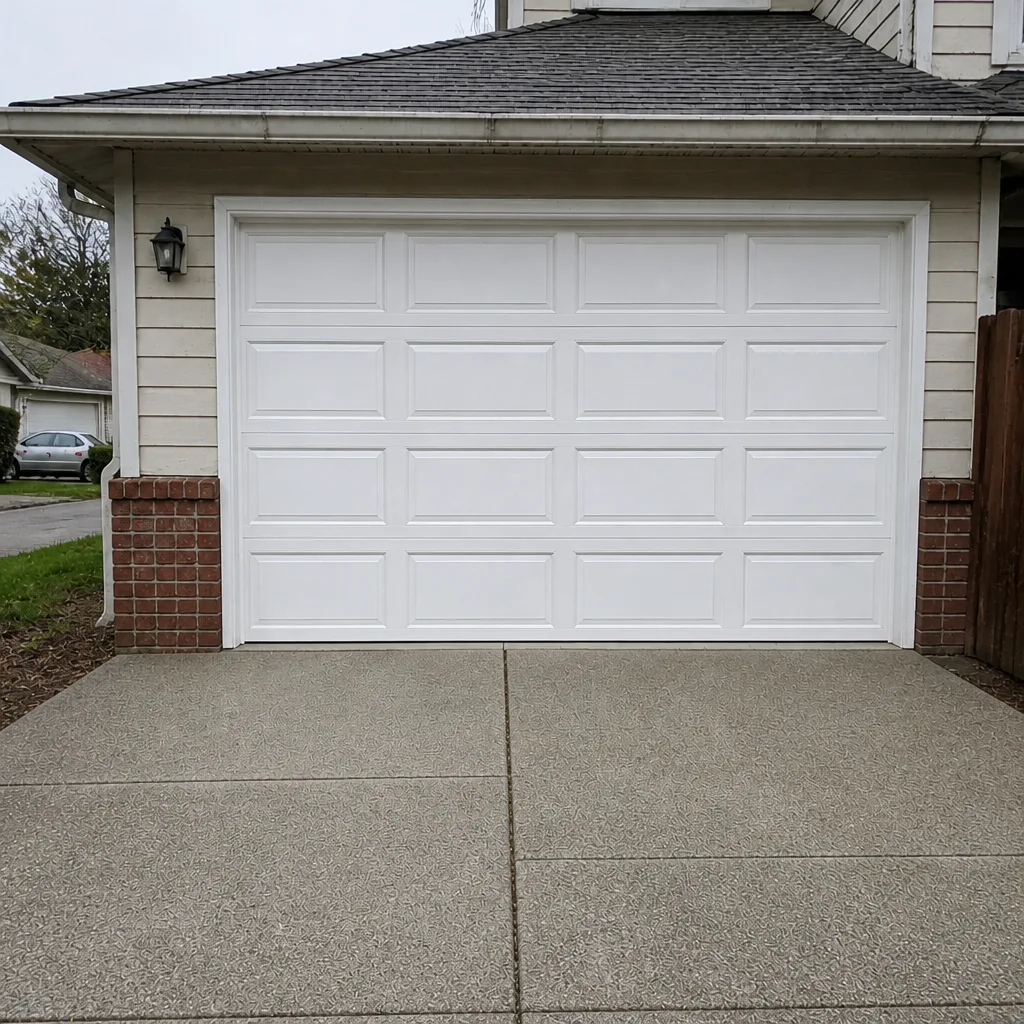
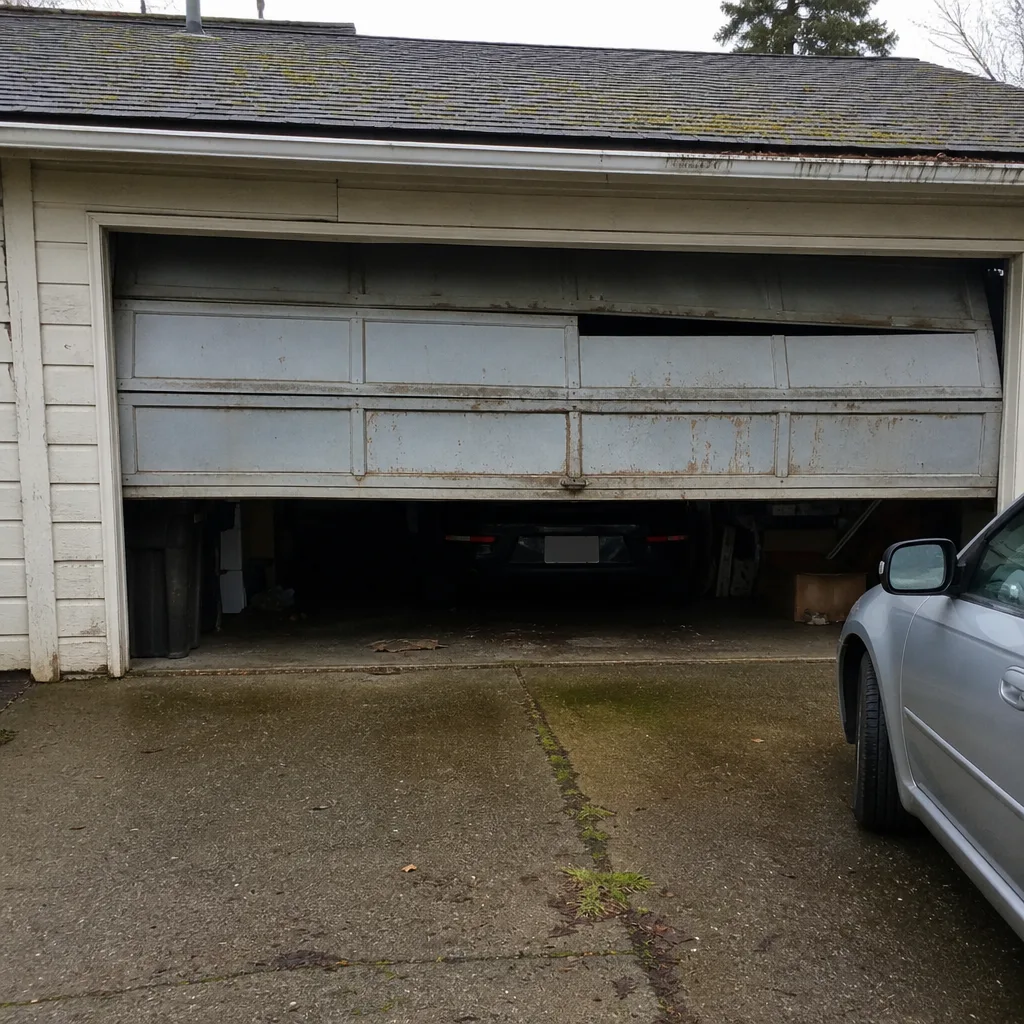
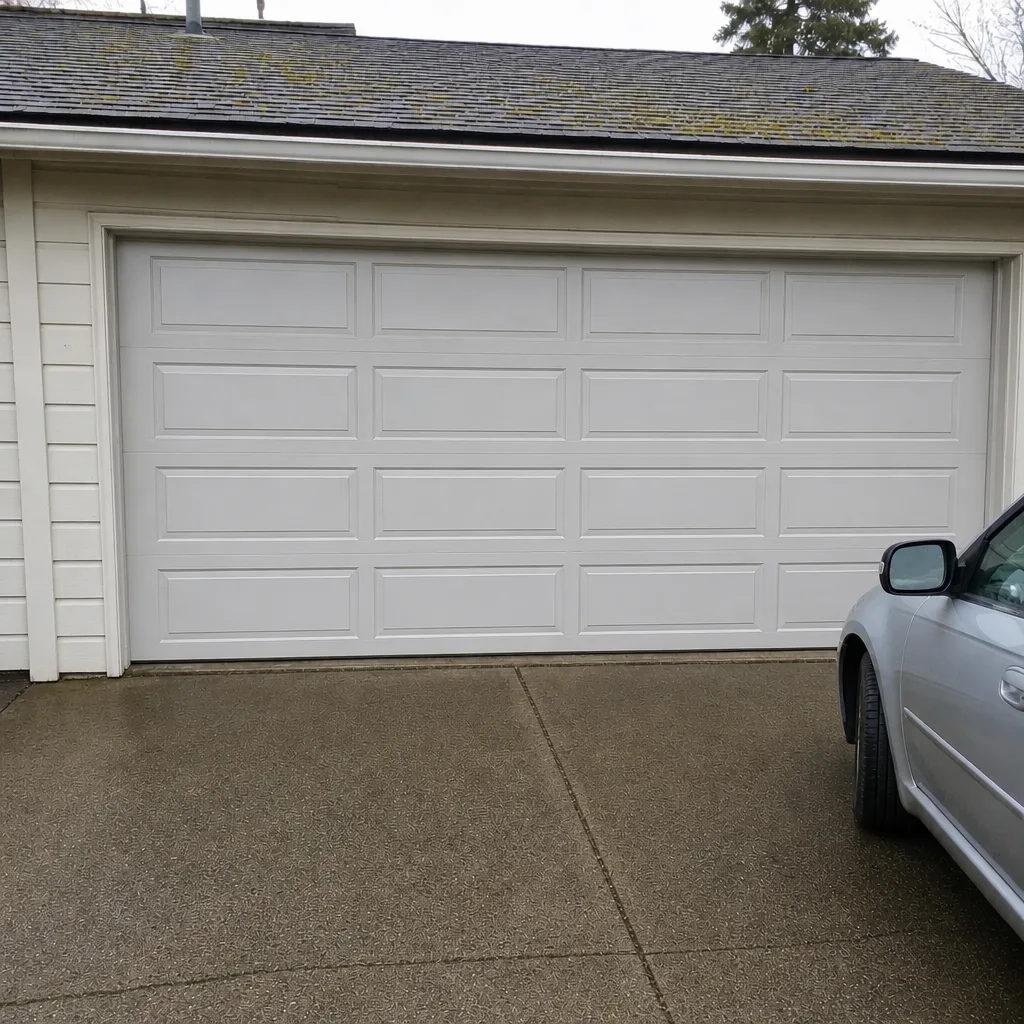
See the difference
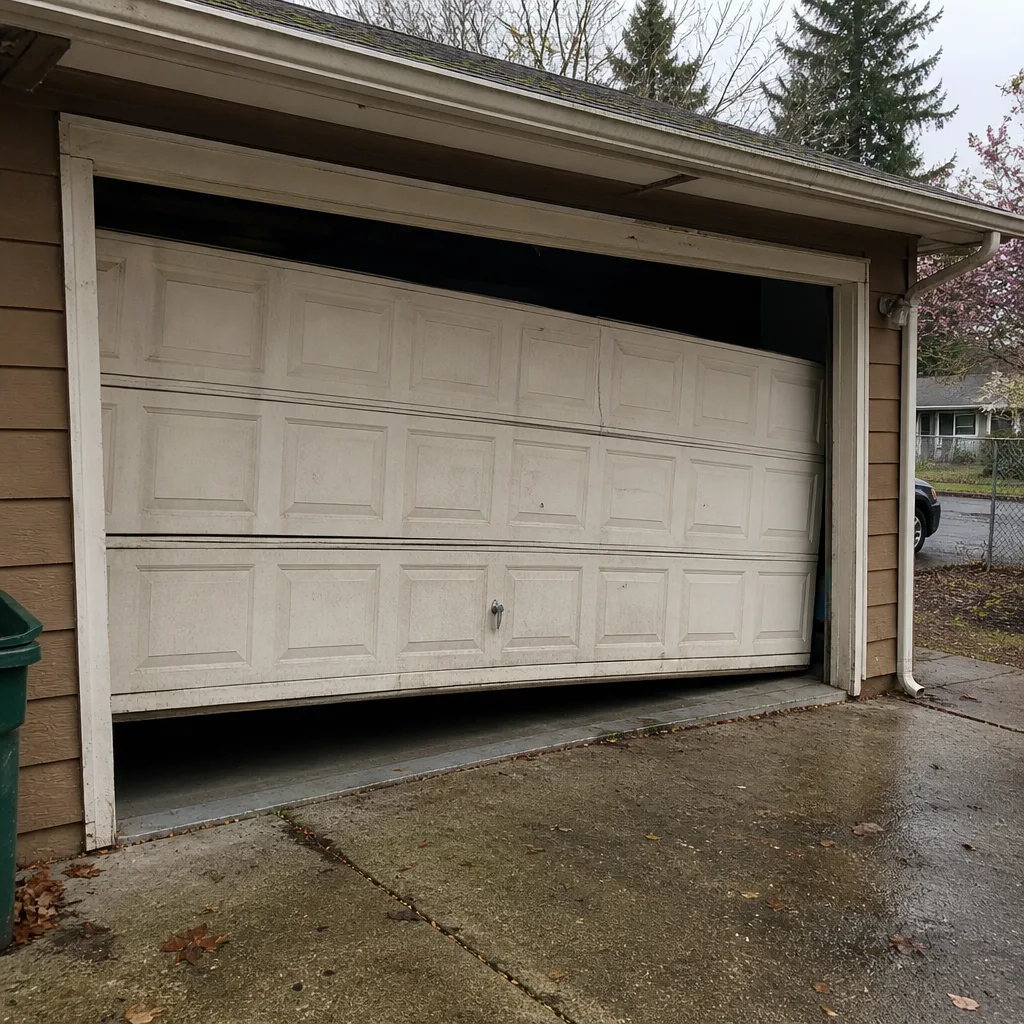 Before
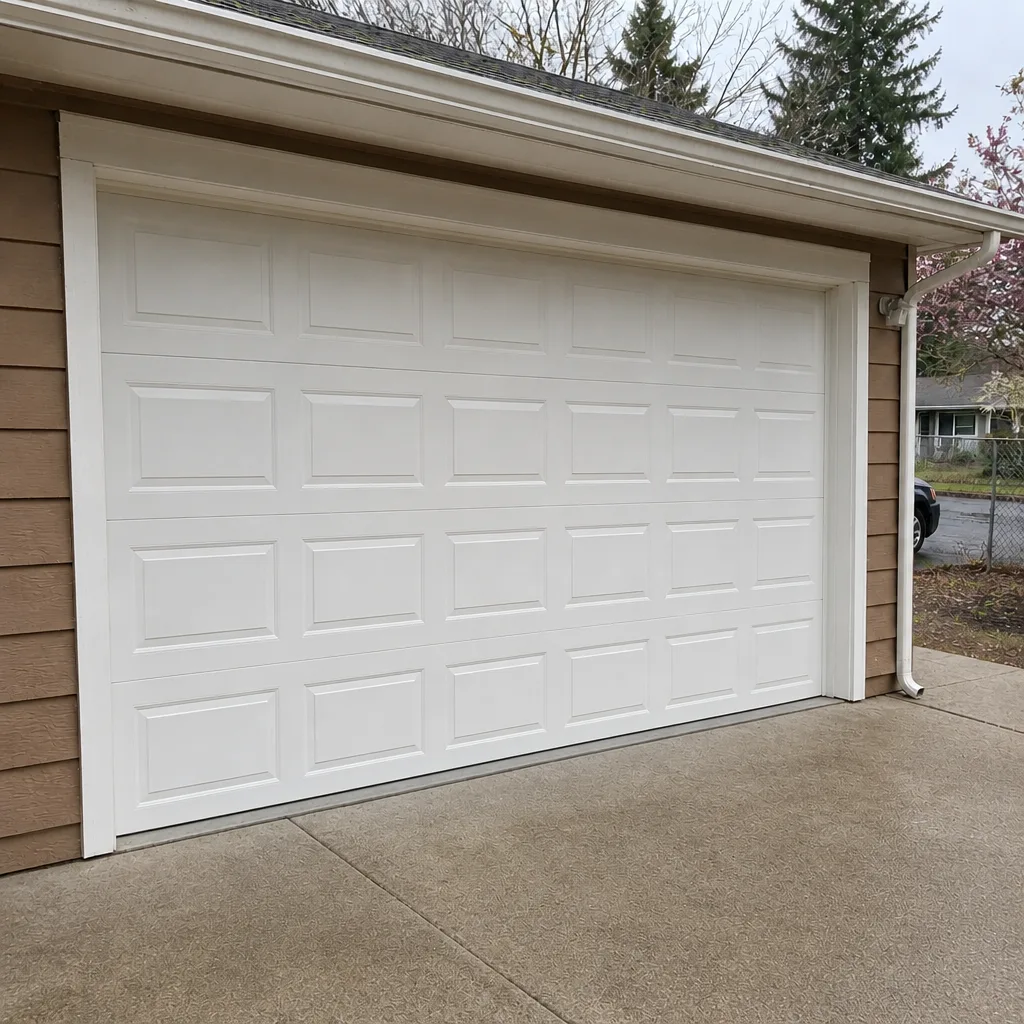 After
 Before
 After
 Before
 After
When to Call a Professional
Some jobs are a spray of lithium grease and a tightened bolt. Others are a safety call. Stop and pick up the phone if you see a broken spring, a split or gap in the coil, a frayed or slack cable, a door that slams down, or an auto-reverse test that fails. The same goes for any door that feels heavy when you lift it by hand, or that opens crooked. Those symptoms point to spring, cable, or balance problems, and they’re precisely the tasks trained technicians handle with the right tools.
If you’re on the fence, call anyway. Kent Garage Door Repair Co offers free estimates in Kent, and our technicians are familiar with the exact hardware on LiftMaster, Chamberlain, Genie, Clopay, Amarr, Wayne Dalton, Craftsman, and Raynor doors. Call (866) 937-7308. We answer 24/7, with fast dispatch from 7am to 7pm.
Frequently Asked Questions
Twice a year is the right rhythm here: once in late fall before the wet months and once in early spring when the weather breaks. Kent’s damp climate makes bare steel moving parts rust quickly, so the fall pass is the important one. Use white lithium grease on hinges and roller stems, and keep the tracks dry.
No. Spring repair is a two-person, proper-tools job, and the stored tension in a torsion spring can cause serious injury if handled wrong. Trained technicians use the correct winding bars and safety protocol. If you see a broken or split spring, keep the door closed and call for professional spring repair.
The auto-reverse force test. Lay a 2×4 flat under the door, close the door, and confirm it reverses the moment it meets the wood. Then wave a box in front of the photo-eye sensors and confirm the door reverses before it reaches them. If it fails either test, stop using the door and call a technician. Call (866) 937-7308 for an exact quote; estimates are free.
Usually because the wrong lubricant was used on them, or the tracks were greased. Thin oils and WD-40 attract dust, and in Kent’s humid air that dust becomes a grinding paste. Stick to white lithium grease on the roller stems only, and wipe your tracks clean instead of greasing them.
Yes. Our opener repair covers current smart-home-integrated systems on LiftMaster, Chamberlain, Genie, and Craftsman units. If the app has stopped reporting door status or the door won’t respond to commands, we can diagnose whether it’s a wiring issue, a logic board, or just a pairing problem. Call (866) 937-7308 for a free estimate.
That’s typically a broken spring. Stop using the door and keep it closed until a technician arrives. Don’t try to lift the door by hand to test it, and don’t run the opener. We answer 24/7, and a call outside dispatch hours is booked into the next opening, Sunday through Friday, 7am to 7pm. Call (866) 937-7308.
The Bottom Line
Most garage door emergencies in Kent are preventable. The trick isn’t a longer checklist, it’s a smarter one built around what actually fails: the spring, the cables, and the opener’s safety calibration. Check the spring coil visually with the door closed and never touch it. Grease the right parts with white lithium and keep the tracks dry. Inspect the cables from the floor, and run the auto-reverse test every month. Time the serious maintenance passes to Kent’s wet season, and keep a simple log. When any symptom points to a spring, a cable, or a failed safety test, hand it to a trained technician. Kent Garage Door Repair Co handles repair, opener work, spring replacement, and new door installation, and we work on the brand you already have. Call (866) 937-7308 for a free estimate. We answer 24/7, with fast dispatch from 7am to 7pm.
Written by the team at Kent Garage Door Repair Co.